Hi everyone! I’m welcoming Jen from At Home in the Northwest back to the blog today and I know you’re going to love her latest DIY project! Take it away Jen!
Thank you for having me here today, Lori!
We’re finally getting some nice weather here in the northwest and it’s been giving me the itch to get some outside projects accomplished. Lately, I’ve been focussed on sprucing up our shed. A few years ago, we painted it red to add some character to our backyard. But recently, I have felt like it could use a little face lift. After an unsuccessful search for used shutters for the window, I settled on building my own. I figured it couldn’t be that difficult…and as it turns out, I was right!
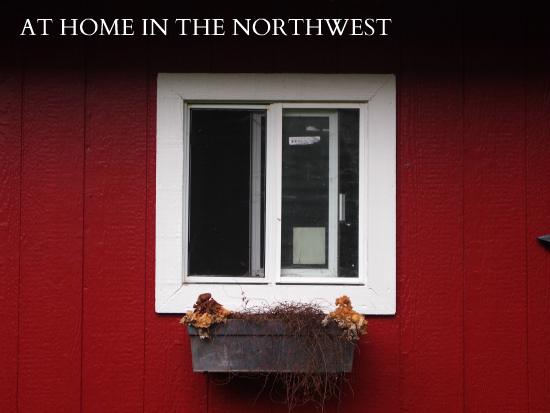
Here is my shed window before, dead flowers and all….
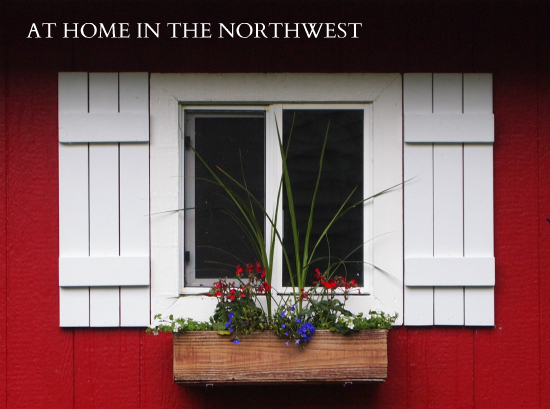
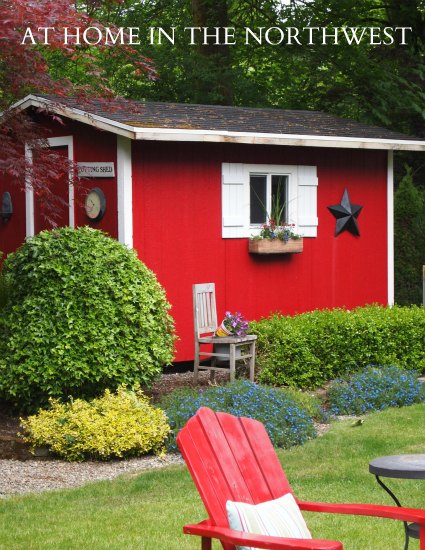
And here it is now! Isn’t the difference amazing!?
If you’d like to create your own, here are the simple steps…
{1}
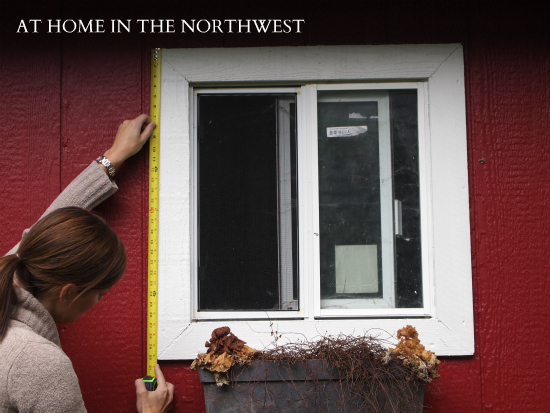
…Measure your window…
Measure the height of your window, including the molding.
{2}
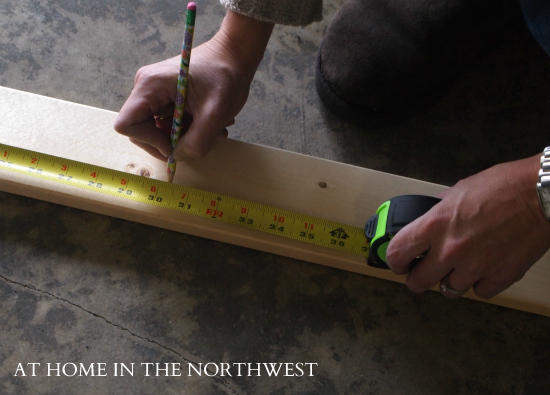
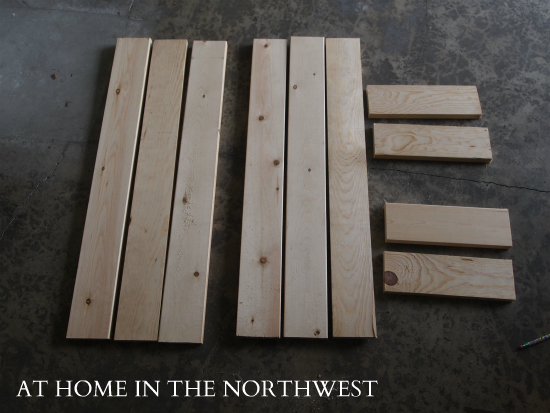
…select your wood and measure for cuts…
My window needs were:
1×4 ‘s cut to height of the window (in this case 30″) – cut 6 pieces
1×4 ‘s cut to the width of three 1×4 ‘s (in this case 10 3/4″) – cut 4 pieces
{3}
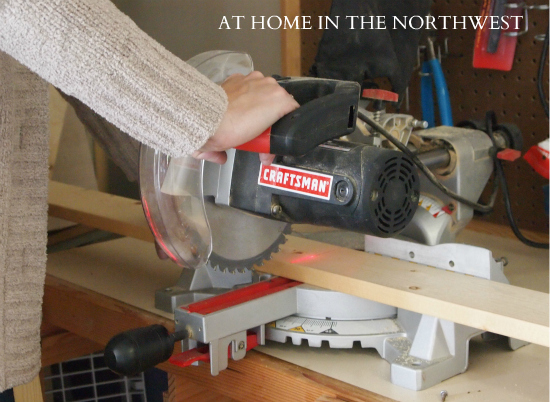
…cut your wood…
{4}
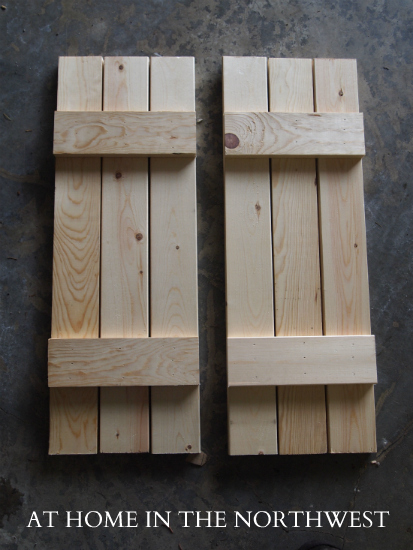
…nail shutters together…
I used a nail gun for this step. You could use a hammer and nails, as well as wood glue. But a nail gun is ideal.
{5}
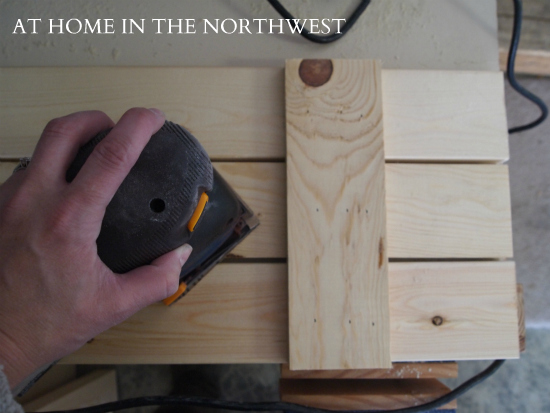
…fill nail holes and sand…
Use spackle or wood filler to fill the nail holes. Then sand both of the shutters, all over.
{6}
…paint…
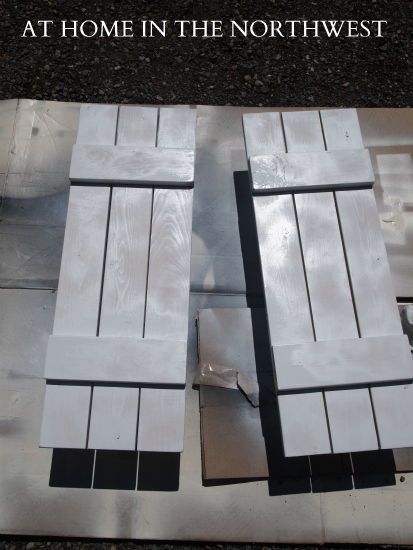
I first used a primer since these shutters will be hung outside. Then sprayed a white semi-gloss all over the shutters.
{7}
…hang shutters…
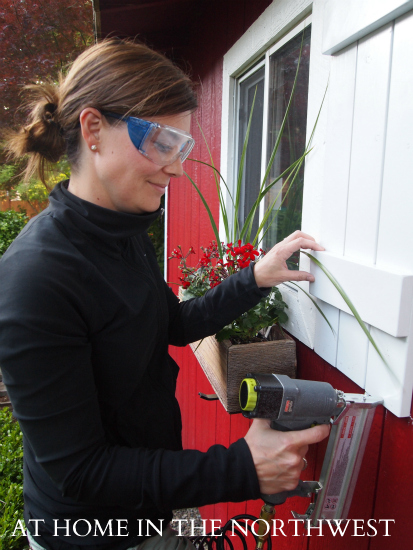
I used a nail gun to hang my shutters. They went up really fast and so far, the nails seems to be strong enough to keep them in place! If you are concerned that a nail gun isn’t strong enough, you can use wood screws instead.
{Don’t you love my protective glasses?! Safety first!!}
I can’t believe how much better my shed looks now! Of course, just getting rid of the dead flowers and cleaning the window would have been an improvement. But the addition of the shutters was the icing on the cake.
Thanks for having me here today, Lori!
Jen
I’m so impressed with this project. I going to have to find somewhere to put some shutters. And how about Jen working with the power tools? Way to go, Jen!
We’re off to Hilton Head on Saturday, but I’ll be back with some beach inspired interior design posts next week. See you then!




I love the transformation!! Wish I had a cute little shed to make some for. Your garden is also beautiful.
Nice to see you here. Your shutters are beautiful!